
Let's set up Simple Translate in just a few minutes.
Salesforce Setup Prerequisites
Before you begin, complete these steps ( ~10 minutes ):
Enable the Salesforce Translation Workbench by following the steps in the Salesforce documentation
Activate the languages you need in Salesforce. See the Salesforce documentation for more information
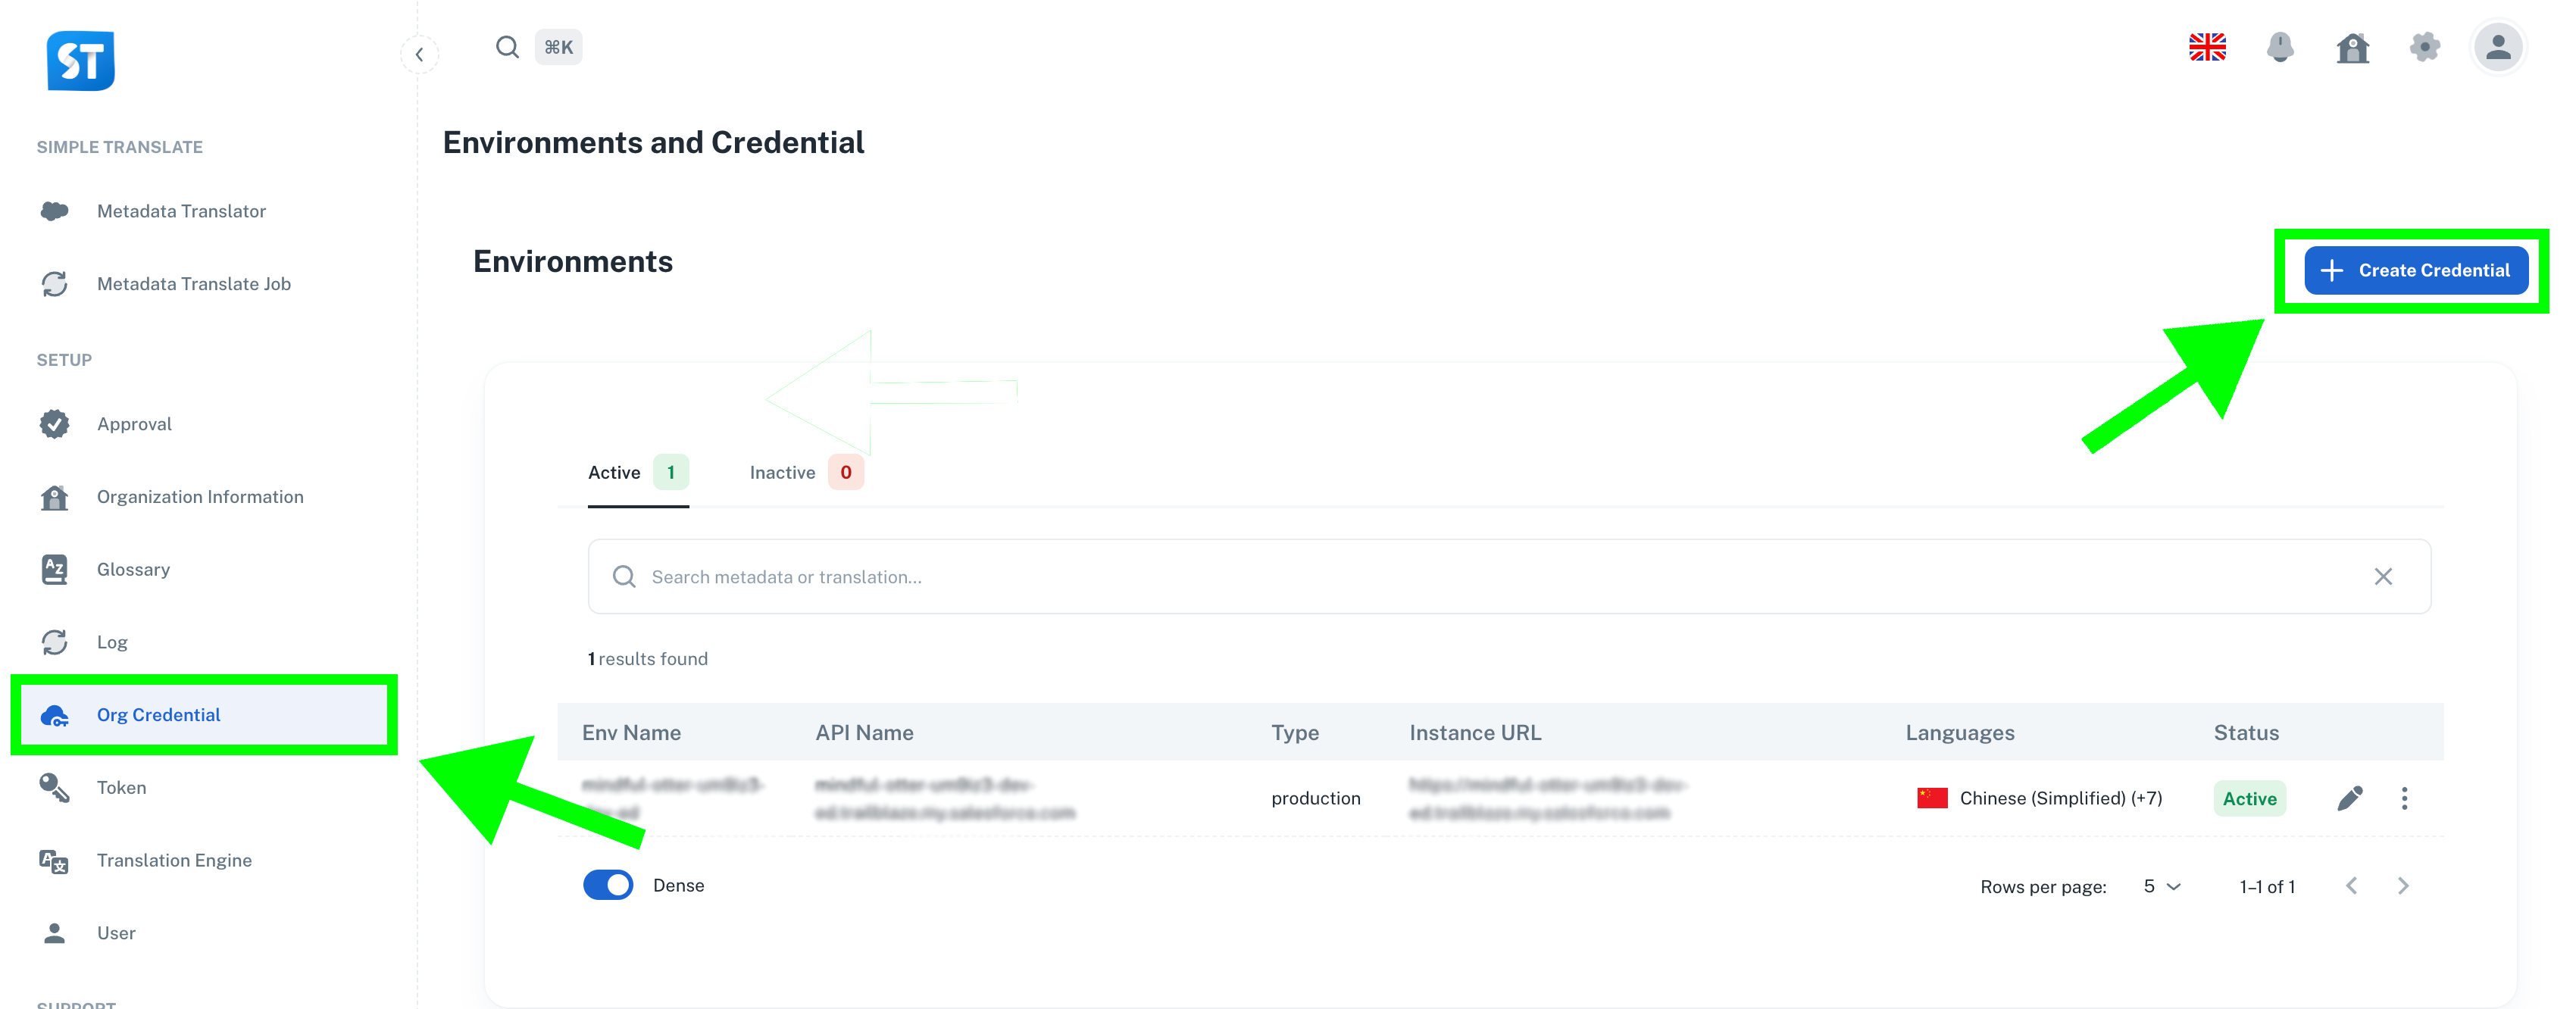
Step 1: Environment and Org Credential Setup
To connect your Salesforce Org, you need to create an environment and credential:
- Go to OrgCredentials
- Click Create Credential
- Log in with your Sandbox or Production environment and allow Simple Translate to access the translations
Hint: In the Edit Environment, you can set the org to be deployable or not deployable.
Learn more in: Org Credential Documentation
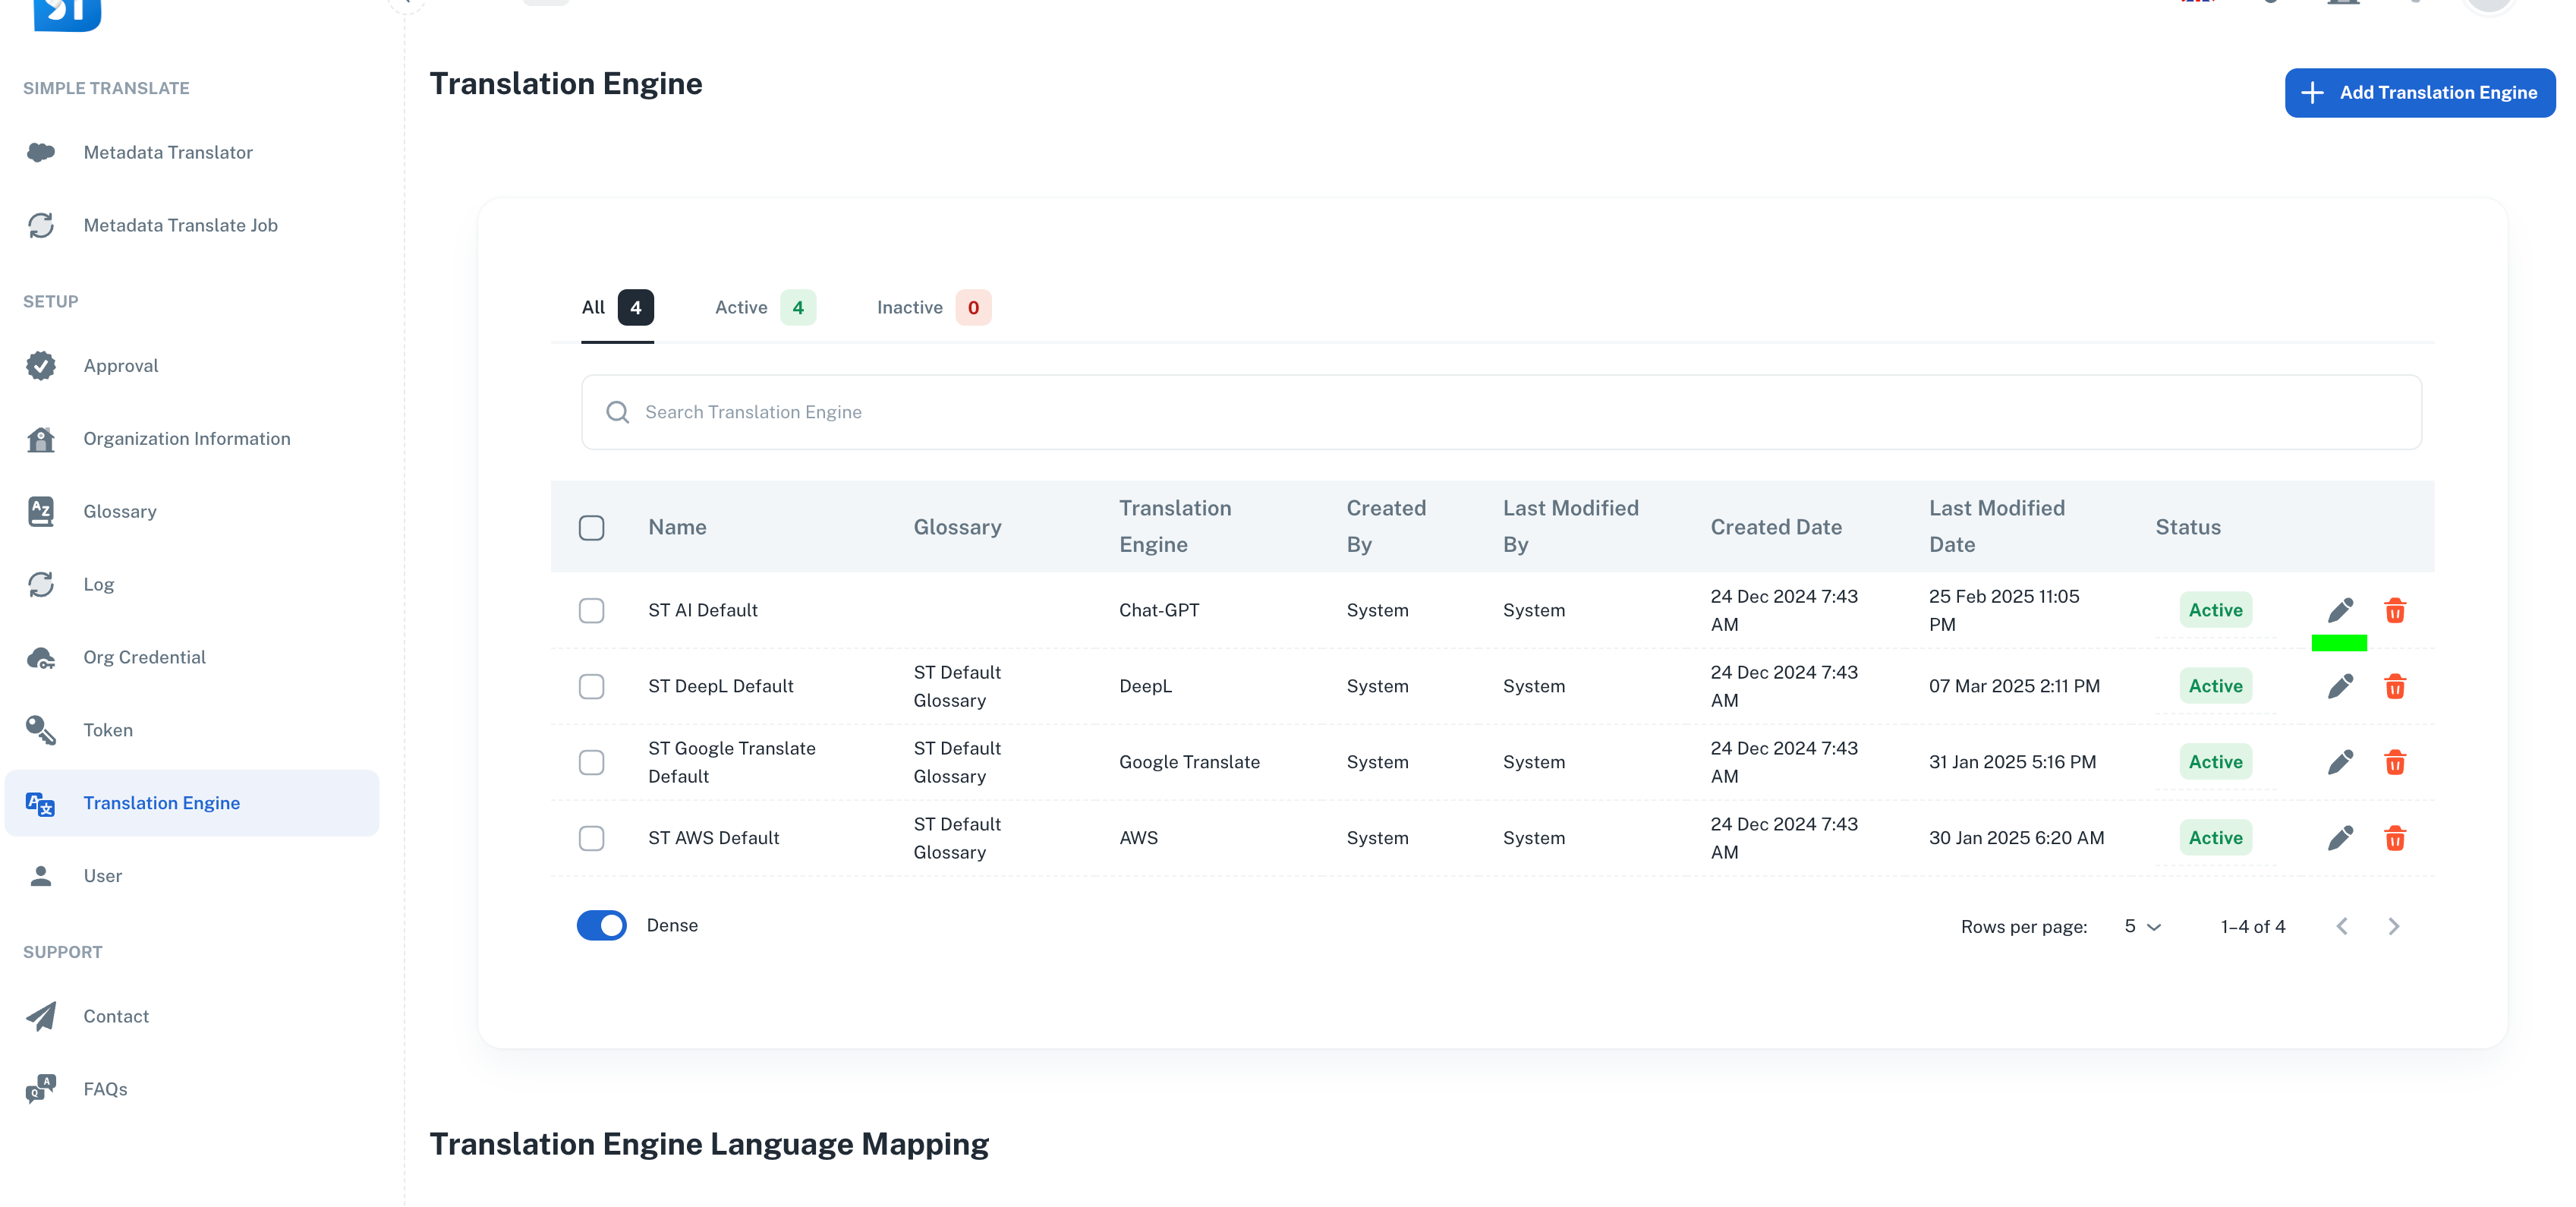
Step 2: Translation Engine
A translation engine is a tool that helps you easily translate your metadata.
In the Translation Engine section, you can:
Set the engine‘s priority (priority 1 is the default).
Activate or deactivate the engine.
There are several translation engines to choose from:
ST AI Default
ST DeepL Default
ST Google Translate Default
ST AWS Default
Custom Translation Management Connector
Learn more in: Translation Engine Documentation
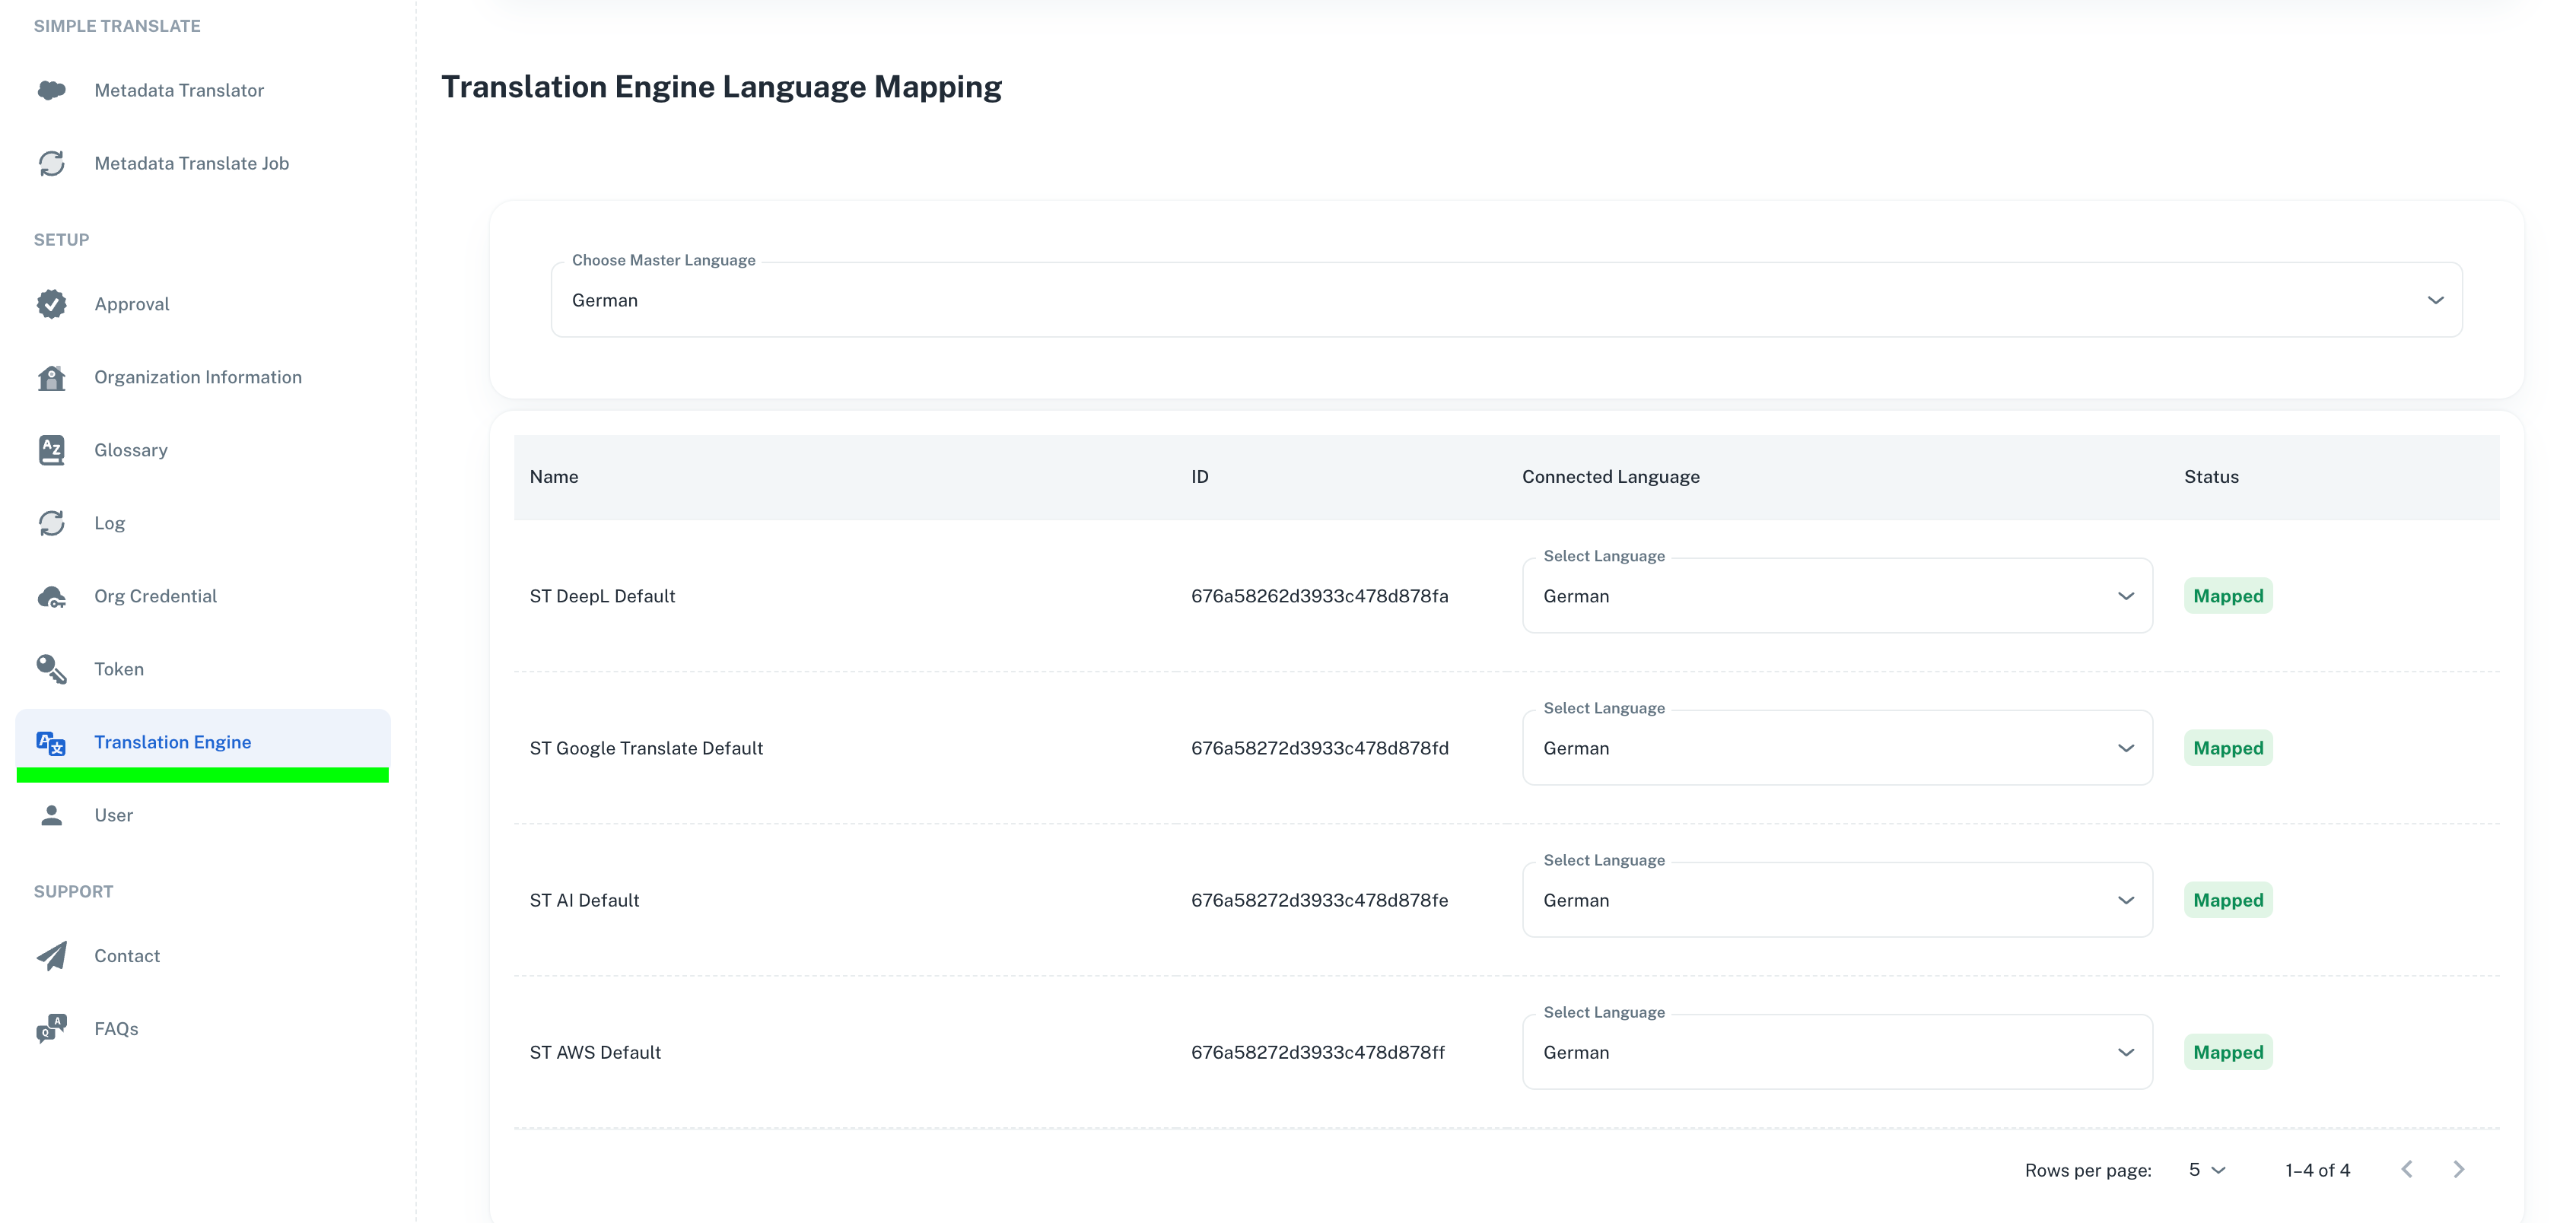
Translation Engine Mapping
If the Salesforce translation ISO code is not the same or does not exist in the translation engine,
you can map it manually in the Translation Engine Mapping section section with a similar language.
e.g., map "de_CH" (Salesforce ISO Code) to "de" (Google Translate Engine Code)
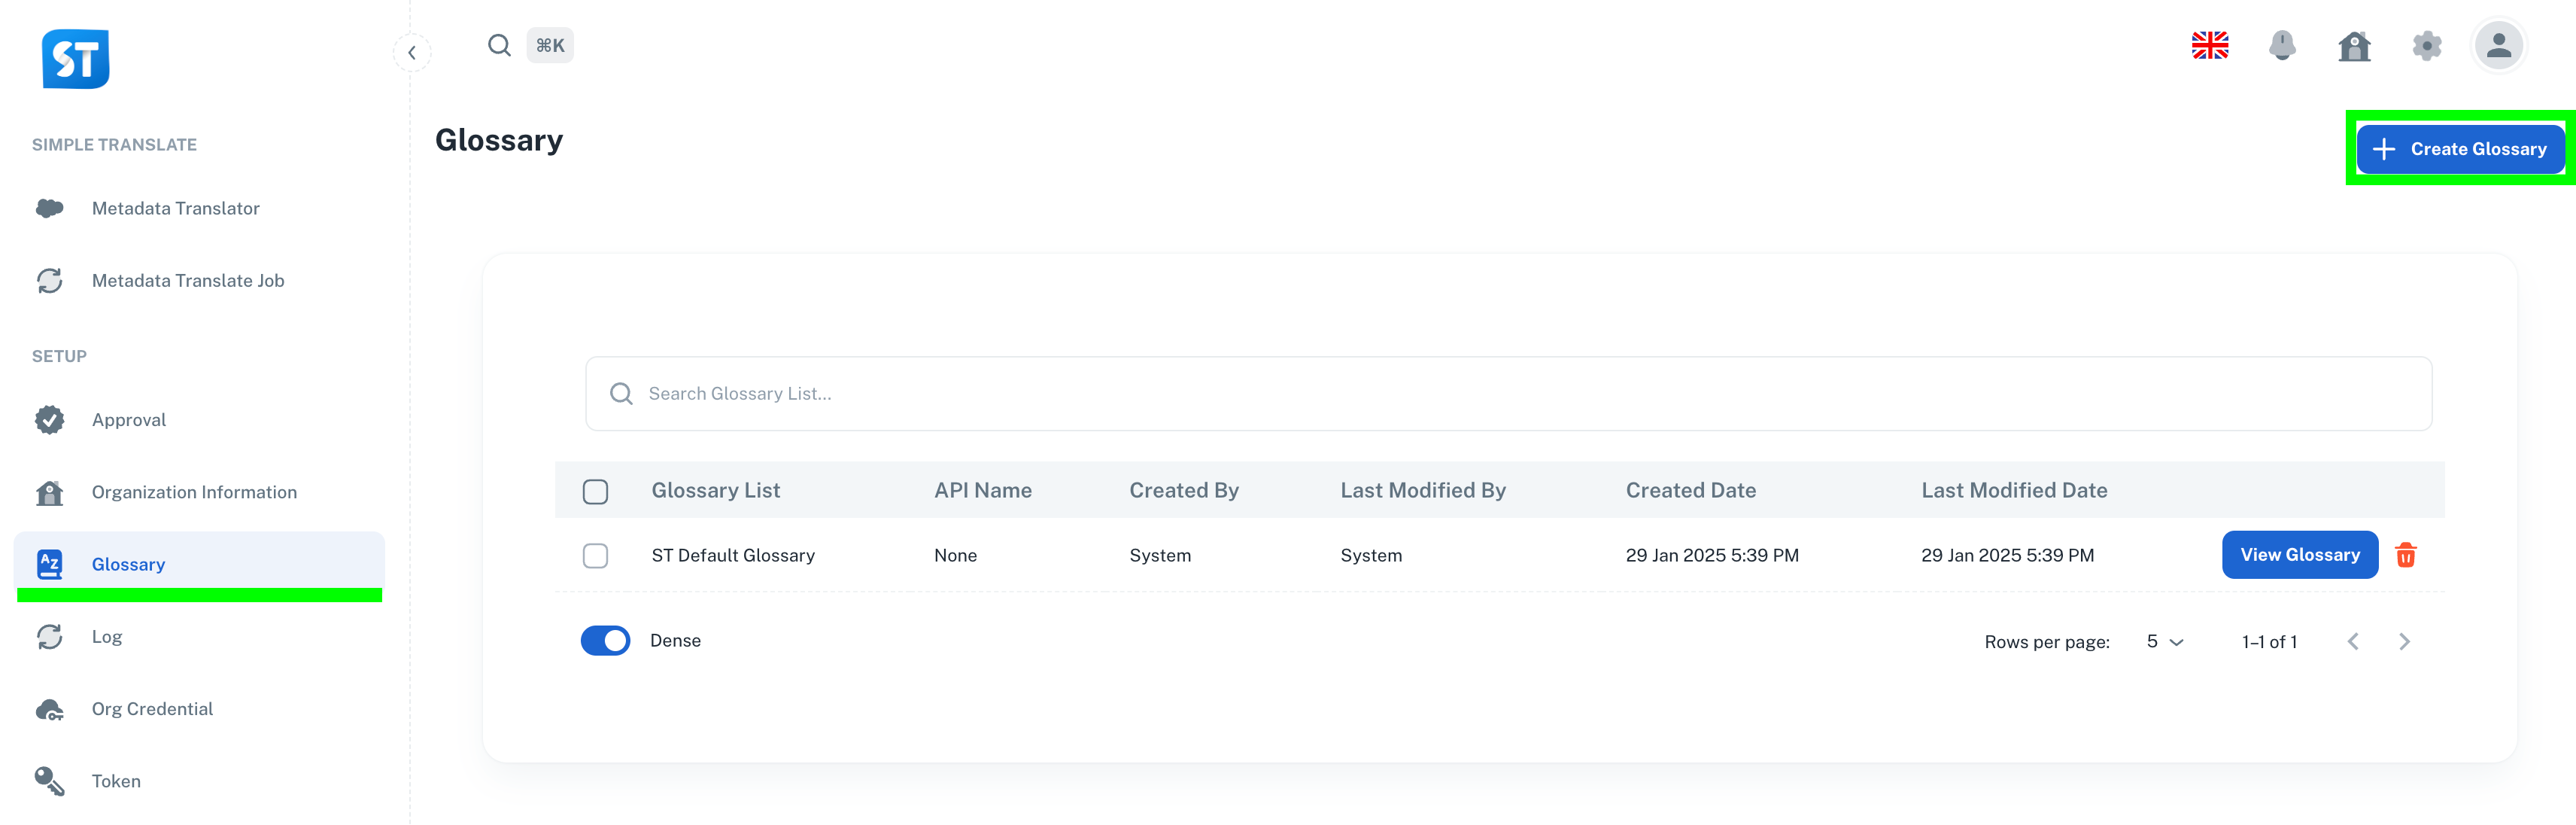
Step 3: Glossary Setup
A glossary is a list of key terms along with their approved translations for specific languages,
helping ensure consistency across all translations.
In the Glossary section, you can:
Create a new glossary.
Edit an existing glossary.
Add or update glossary terms.
Note: The glossary does not support ST AI Default.
Learn more in: Glossary Documentation
Step 4: Organization Setup
In the Organization section, you can update your company information, review billing details,
monitor token usage/limits, and manage notifications.

General:
Update company information.
Change company picture.
Billing:
Access your Stripe account.
Manage billing details.
Notifications:
Enable or disable notifications.
Company Settings:
Select the default metadata configuration.
Token Limit:
Check token consumption.
Manage token limits.
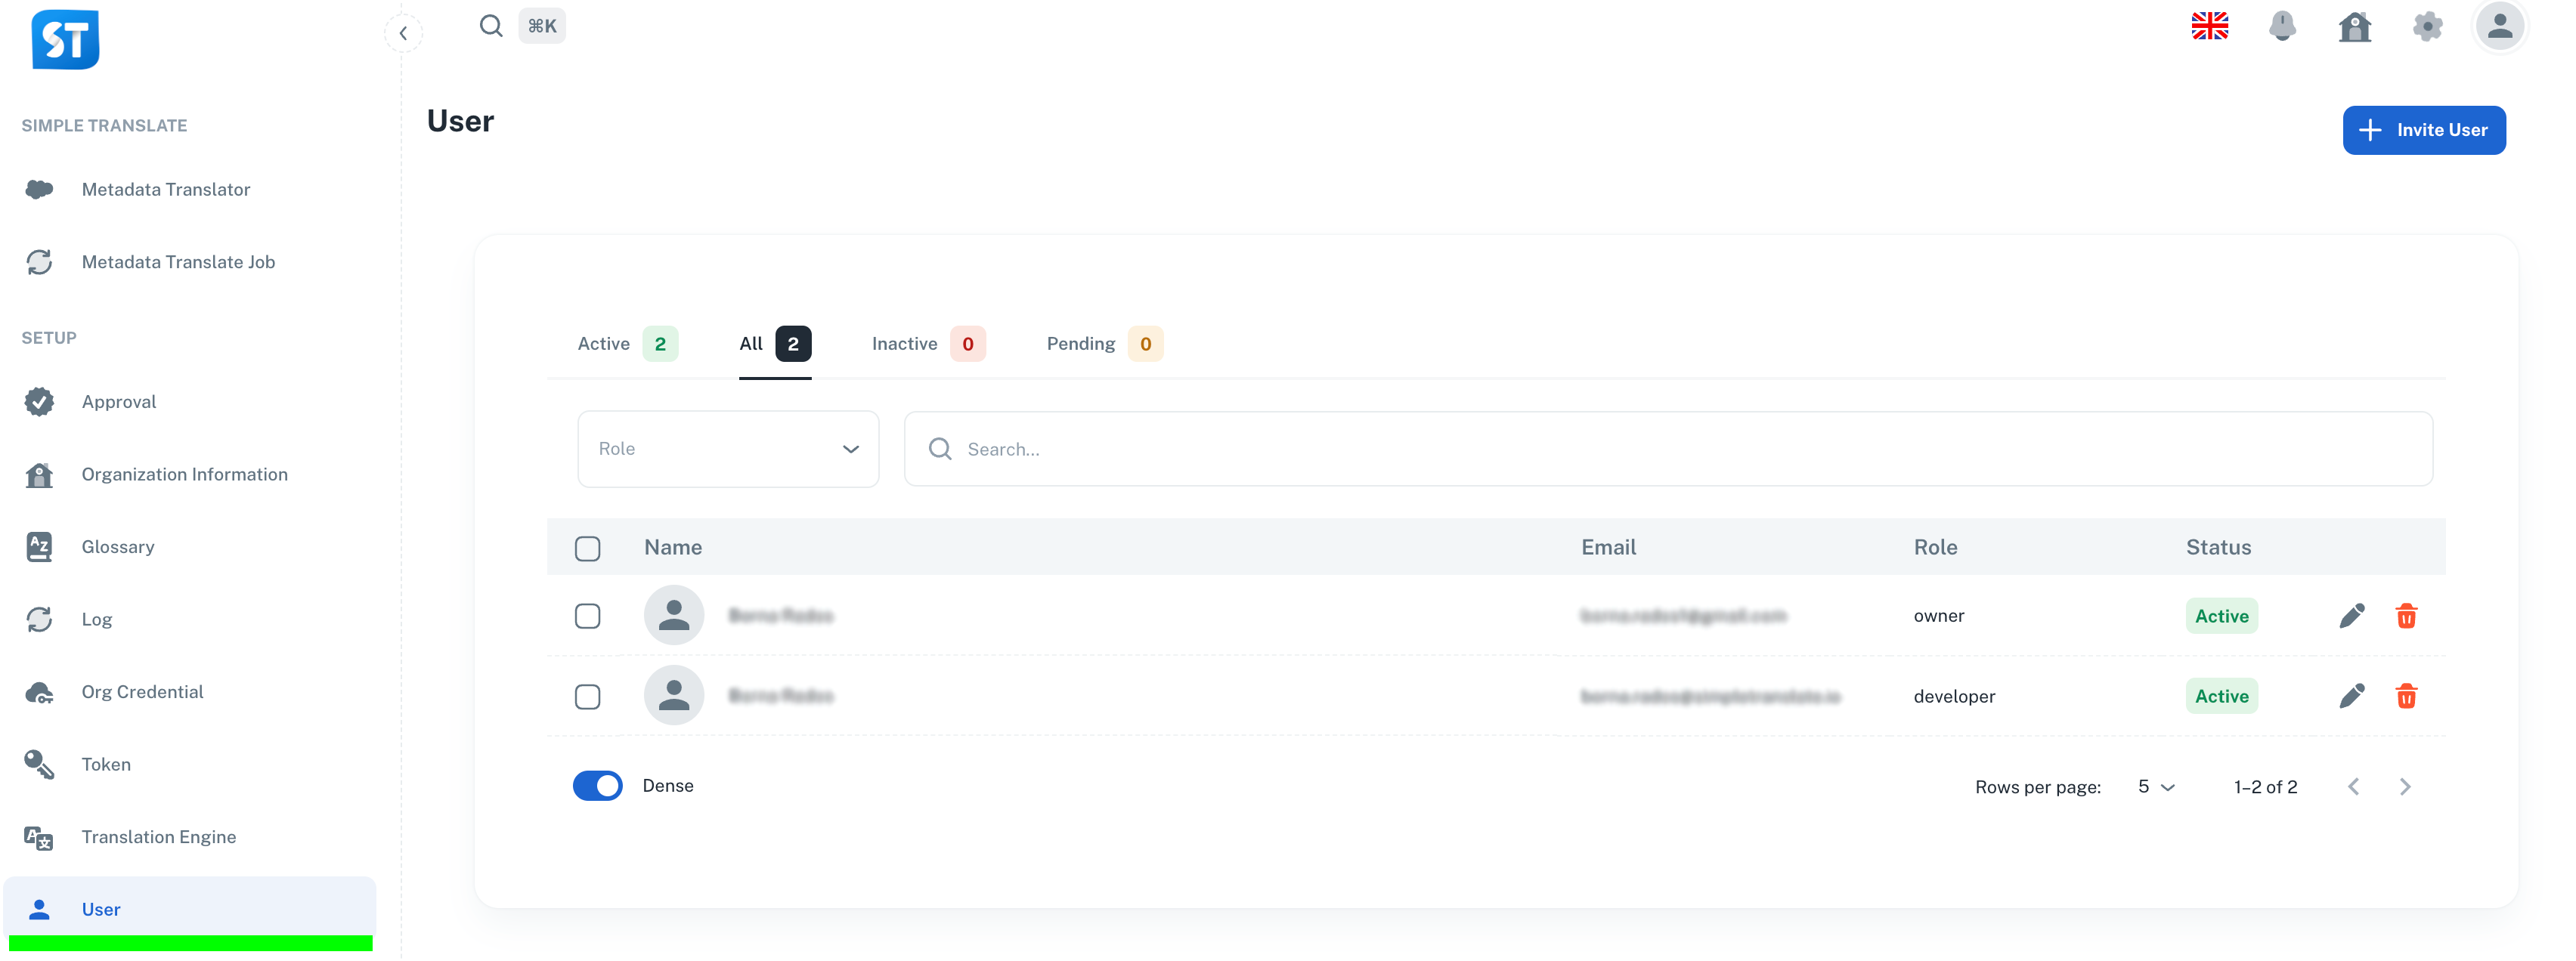
Step 4: Users Setup
User management is handled in the User section. Here, you can:
Activate or deactivate users.
Invite users.
Change user roles.
Note: The unique user identifier is the email address.
For technical implementation details and configuration options, visit our SimpleT Documentation.
Published:
2/3/2025
Back to the Articles List